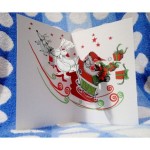
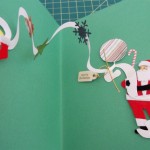
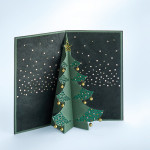
Create a fun Christmas card with a surprise 3D Christmas tree inside! This simple tutorial means everyone including beginners and kids can do this DIY card project.
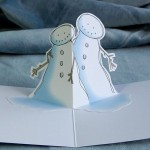
And don't stop with the Christmas tree design! You can make all sorts of 3D inserts from snowmen to angels so that each card is unique.
Pop-up Christmas Card
Por Publicado: November 5, 2013
Make your own Xmas card with a surprise inside!
Materials
- 3 sheets A4 paper 1 white regular, 1 red, 1 green
- white acrylic paint
- glue
- scissors
- pencil
- bowl
- ruler
- toothbrush
- small paintbrush
Instructions
- Fold the red paper in half and put to one side as this will make the card itself. Fold the green paper in half and half again and put to one side.
- Fold the white paper in 4. Open up and cut out one of the quarters. This will be used to draw a template of a tree on. For the template, fold the quarter of white paper in half and using a ruler and pencil draw a diagonal line lengthways. Following this line draw a tree outline and cut out.
- Open up the tree and place on top of the green paper. Draw around the template with a pencil and cut out so that you have 4 green trees.
- Fold all the trees in half. Open up the trees and add decoration such as baubles or snow with the acrylic paint.
- For the front of the card you can add whatever design you like however (as in the video) you can take the green paper and cut out 2 smaller trees. Stick these to the front of the red paper. Add snow details with the white paint and using the toothbrush you can brush flecks to make it look like snow falling.
- Going back to the 4 cut out trees glue the outside of each tree and stick each one to the other.
- Once you have stuck them together turn it over and put glue along the back and middle and stick in the middle of the red paper card. Press it down.
- Finish off with snow details using the paintbrush and snowfall with the toothbrush.
 Handspire Do It Yourself!
