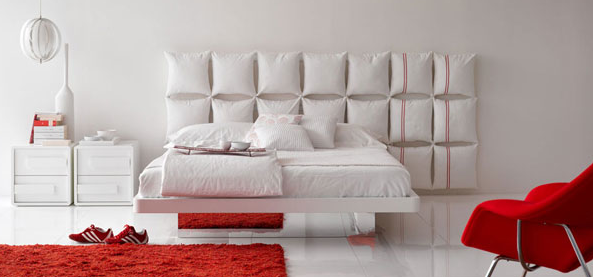

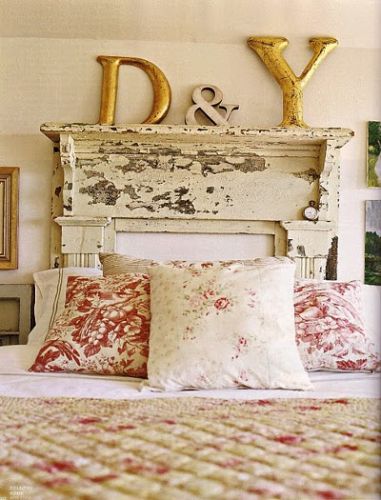
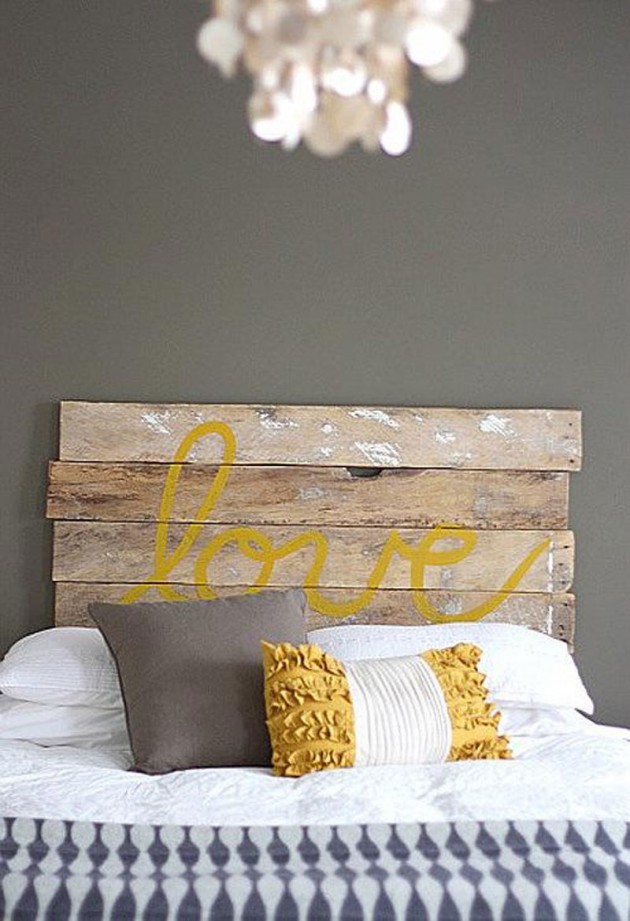
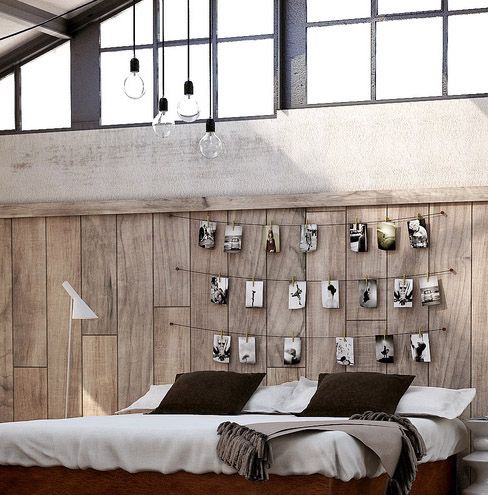

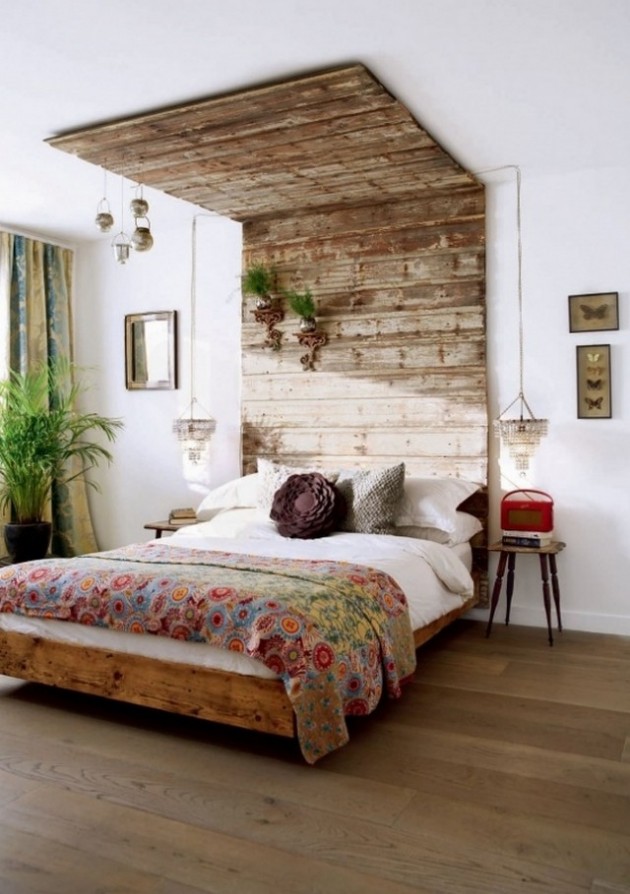
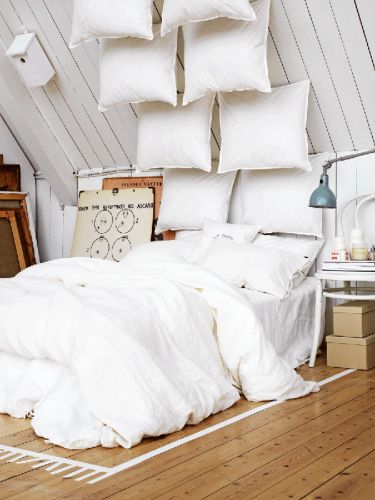
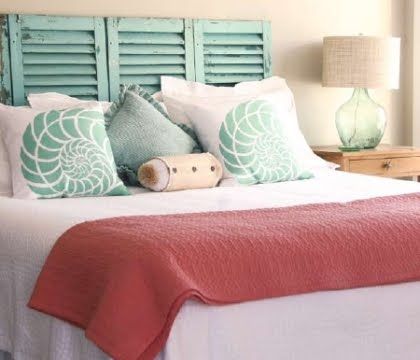
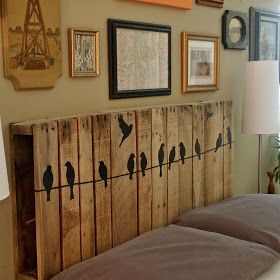
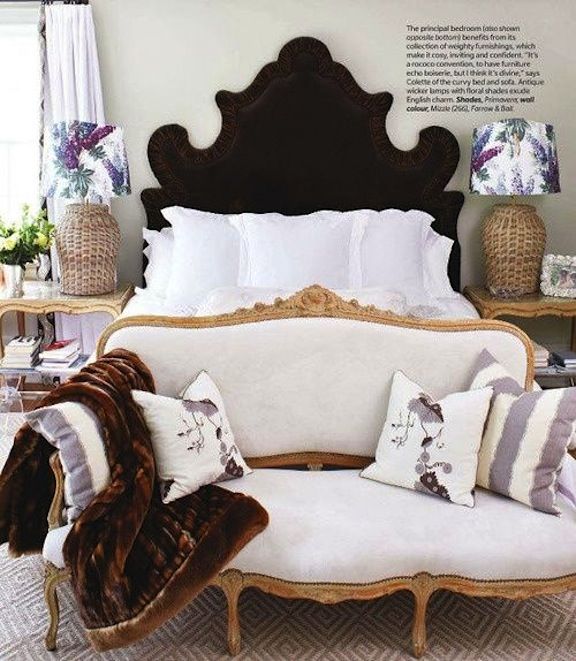


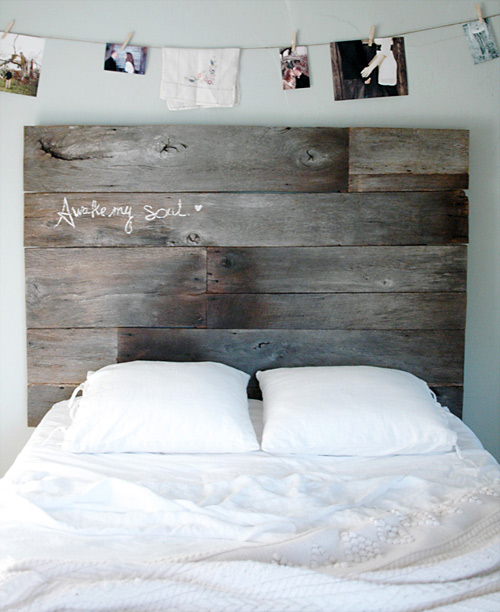
Transform your bedroom by making a focal point of the headboard. The grand designs featured in these images might be difficult to achieve in the everyday bedroom but here is a simple way to create a headboard from salvaged wood that suits any room.
Check out the video above and the instructions below...
Salvaged wood headboard
Materials
- old barn wood
- 1.5″ wood screws (depends on the thickness of your boards)
- 2 long boards for legs
- scrap wood & wood shims (optional)
- fine grit sanding sponge
- stiff-bristle scrub brush
- finish
- nuts and bolts
Tools
- miter saw
- drill
- ratchet or wrenches for tightening bolts
- air compressor (optional)
1. Once you have your boards of wood, mark out the area they are going to fill in your bedroom on the ground. This way, you can begin to position your boards on the marked space in the general way you want them to fit together.
2. Pencil the boards where you are going to cut and saw them with the miter saw.
3. Once you have cut everything to the shape of your headboard, flip all the pieces over so you can attach the boards of wood being used as legs. These need to be attached to the back running all the way down the headboard joining the pieces of salvaged wood. Screw into place.
4. Whilst the headboard is still flipped over, you need to now attach pieces of scrap wood at every joint and seam to make sure the headboard doesn't fall apart! You might want to use shims to make up for the difference in thickness of the salvaged wood.
5. If you think it is neceassary screw a further board running down the middle for extra support.
6. Sand, scrub and air the headboard so there are no splinters and to make it clean and dustfree.
7. Coat the headboard with a finish. Repeat this until you have around 4 coats and allow to dry completely for 24-48 hours.
8. Mark where the headboard will sit and attach to your bed using nuts and bolts.
Source: http://www.designsponge.com/2011/11/diy-project-salvaged-barnwood-headboard.html


