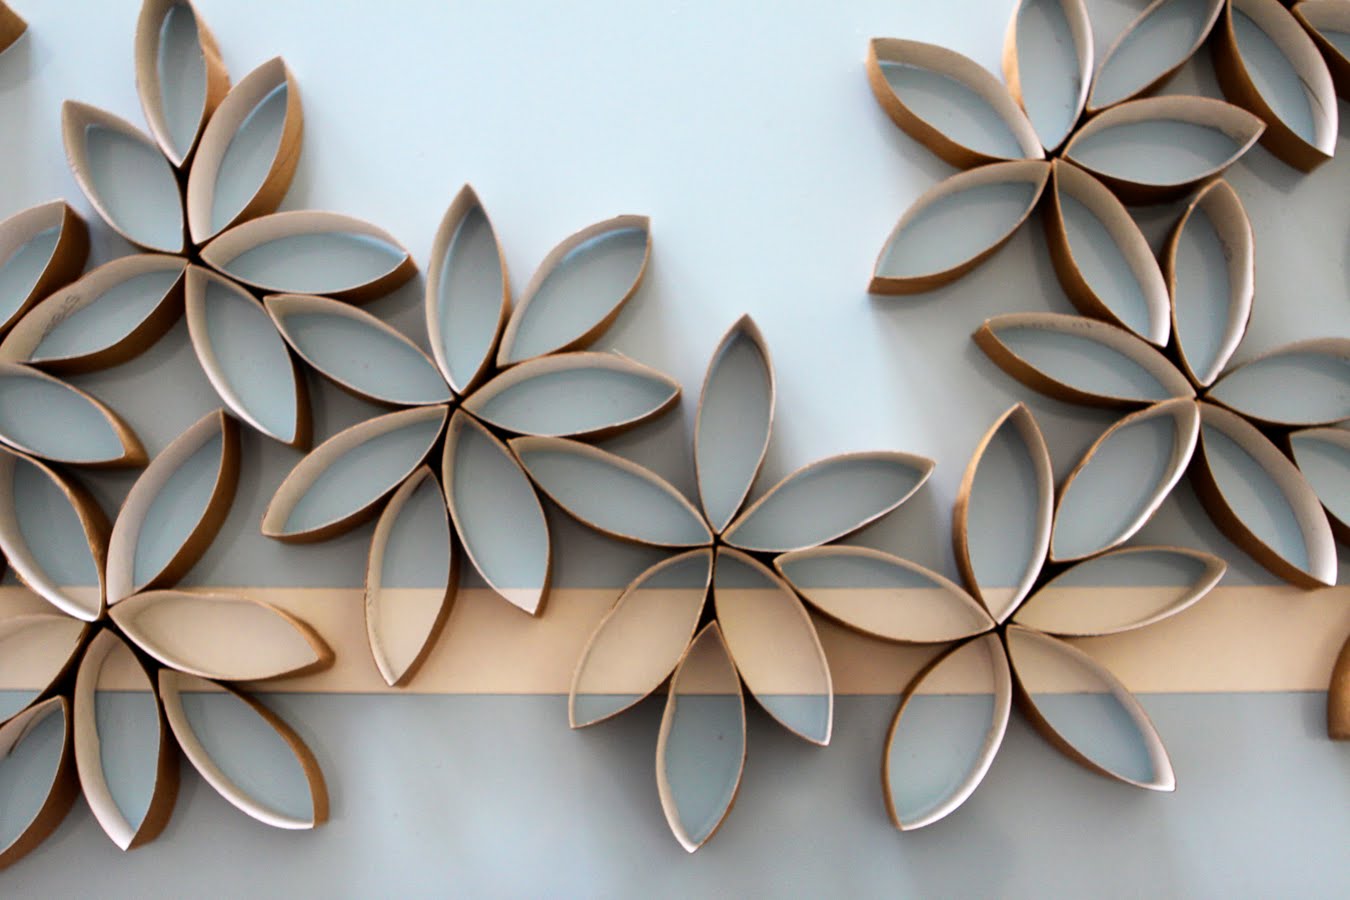

Bring the outside in with floral home decorations that give your house a natural, fresh feel. Follow this DIY project to create a simple, inexpensive wall hanging using... toilet rolls!
Floral wall hanging
You will need:
- toilet rolls
- scissors
- strong glue
- paint
- small pins (to hang)
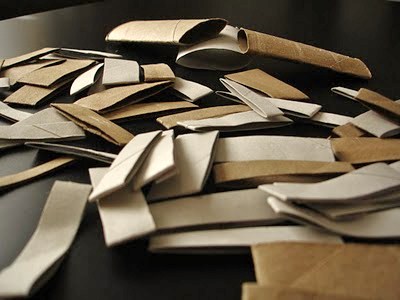
1. Save empty toilet rolls until you have amounted about 7 or 8 (the larger the wall hanging, the more you need!)
2. Flatten the rolls and cut them in strips to sizes of your choice. Different sizes will give a more natural look to your flowers although the same size strips would look more neat.
3. Open them up so they look like leaves/petals and lay them out into some sort of design that suits you and the space they are going to fit.
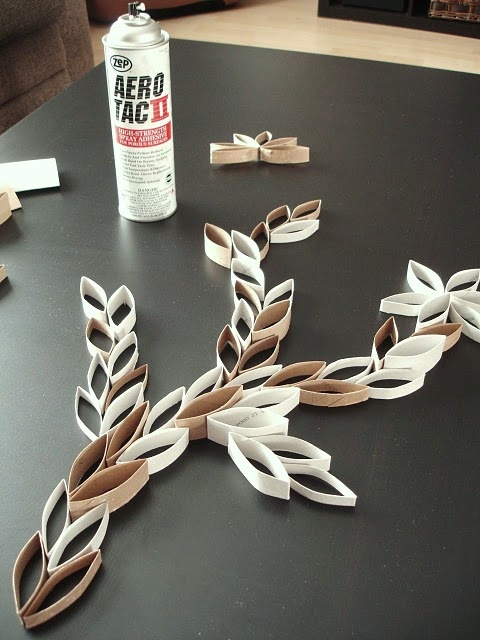
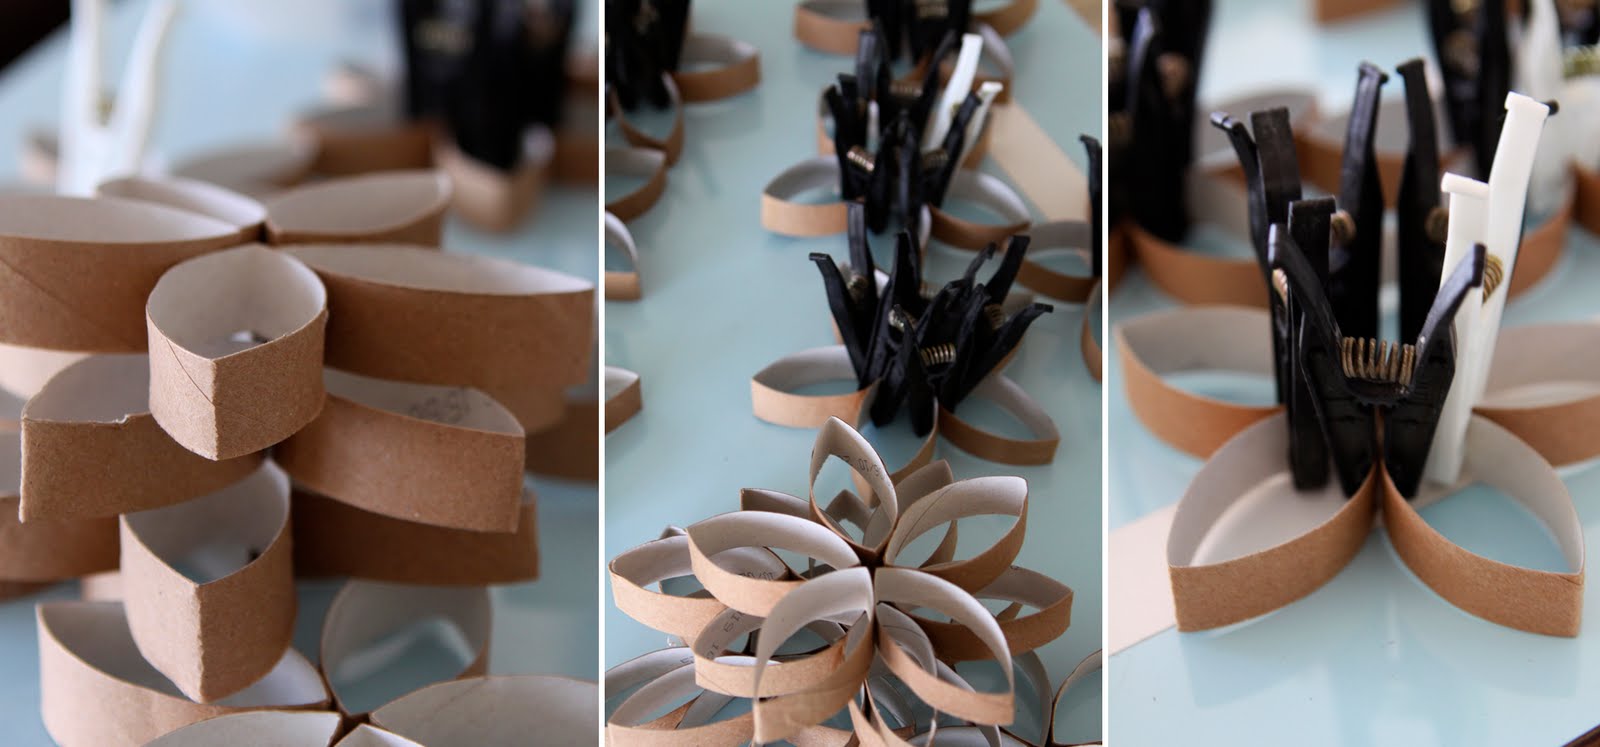
4. Glue the petals together. A good guide is to use 5 petals for every flower and glue in the middle. TIP: Clothes pegs are great for holding the shape whilst drying.
5. After they are dry feel free to paint the flowers.
6. Once all the paint has dried you can attach the flowers to one another with glue.
7. The completed design can be hung on the wall using small pins.