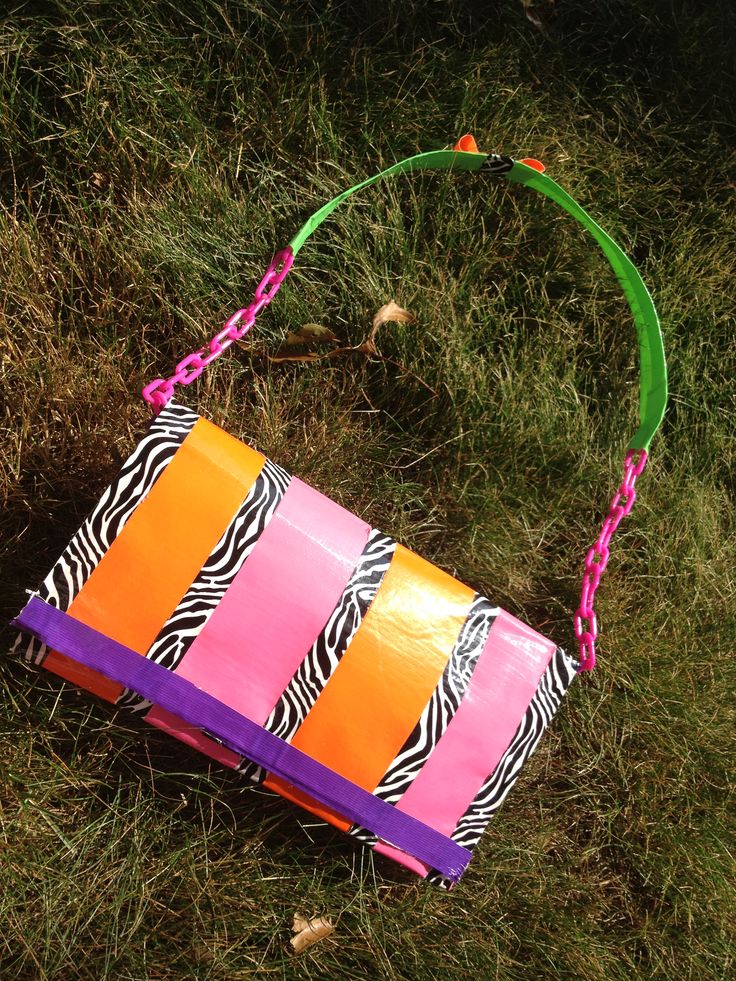
Make your own duct tape bag
Take duct tape crafts to the next level with this tutorial on how to create your own bag. Waterproof and durable this is a useful DIY project that you will be sure to use. Choose bright, patterned duck tape for a unique, eye-catching bag thats one of a kind!
Watch the video and follow the steps below

DIY duct tape bag

Por Publicado: October 16, 2013
Make your own duct tape bag Take duct tape crafts to the next level with this tutorial on how to create your own bag. Waterproof and …
Materials
- duct tape choose 2 colours
- cutting board
- sharp knife
- scissors
Instructions
- Start by making the strips for your bag. To do this lay the tape down onto the cutting board and cut at the desired length you want to make your bag.
- With the tape you have just cut you need to mark a line down the middle and cut to make 2 separate long strips.
- Fold these over to make 2 long strips that are duct tape on either side, making sure there are no bubbles.
- Do this with both colours of duct tape until you end up with 30-40 of each colour (it depends how large you want to make your bag).
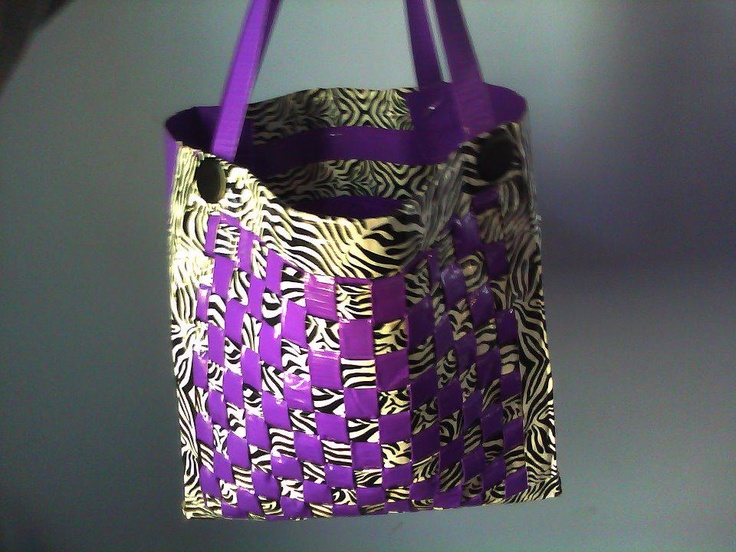
- Take one of each colour and line up at a 90 degree angle. Tape down to keep the strips steady as you gradually start to make a weave adding more strips. Keep the strips in a horizontal line at the top (SEE VIDEO FOR DETAILED WEAVE TUTORIAL).
- Once you have created a weave that makes a rectangluar shape big enough to make a bag, fold the ends together so they meet in the middle. Then, weave the remaining strips together to end up with a cylindrical weave.
- Cut any strips that are too long, tape together and staple to hold the shape (this is optional but it improves the outcome of the bag).
 To make the edges neat fold tape lengthways over the raw edges and cover any staples.
 - Repeat the first steps to make strips, but this time you are going to make small strips that will make up the bottom of the bag. Measure accordingly to what fits your bag.
- Weave the small strips as before to fit the length of the bottom of the bag. Cut the ends and staple as before.
- Tape the bottom of the bag to the main part with strips of duct tape. Do not overlap the two parts, just lay them side by side. Tape on both sides of the bag all the way around. Trim any strips that are left overhanging and use small strips to tape round the corners.
- Make two handles for the bag from duct tape and then stick with duct tape to the inside of the bag.