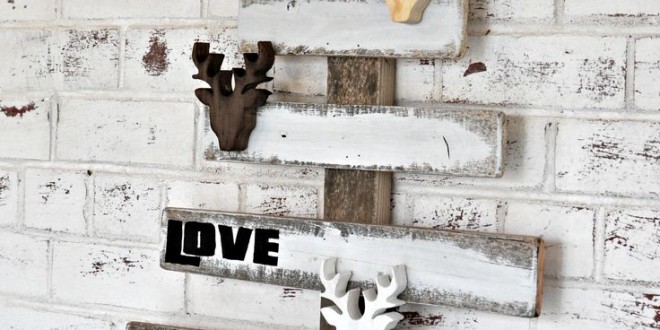
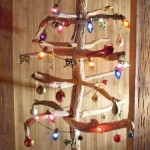
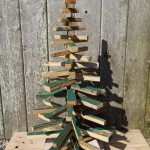
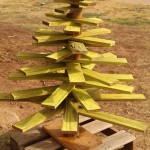
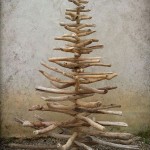
Use reclaimed wood to make this shabby chic Christmas tree! If you don't want to put up with the mess of a real Christmas tree or simply don't have the room this is the perfect solution. You can make a free-standing wooden tree or hang it to the wall, decorate with Christmas lights and decorations as you would a normal tree.
Materials:
- Planks of wood (Number depends on how you big want to make the tree. 5/6 works best)
- Sturdy piece of wood to make the 'trunk'/centre piece of the tree
- Saw
- Sandpaper
- Nails
- Screwdriver
- Paint + paintbrush
- Star/lights/ornaments to decorate
Steps:
- The wooden planks need to be cut so that you have a long piece followed by planks of descending length. The tree occurs gradually therefore do not make the planks too different in size - the tree should make a triangular shape after all!
- If the wood needs to be sanded then do this now. Afterwards you can paint the planks or coat them with a finish.
- Once dry screw the planks to the long 'trunk' plank starting with the largest at the bottom. Space the 'branch' planks out onto the 'trunk' plank first and mark where each goes. Then when it comes to screwing them in you know exactly where each one goes.
- Decorate and hang on the wall. Alternatively, you could make a stand and allow the tree to stand freely.
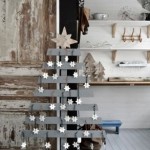
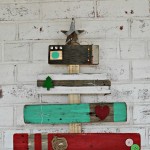
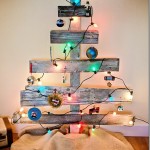
Here are some more ideas for Christmas trees made from wood...
 Handspire Do It Yourself!
